This guide explains how to manage Cloud Drive using CLI commands, including sync configuration, selective sync, and status monitoring.
To log in to your account and start Cloud Drive setup, run:
./idriveforlinux.bin -install
What this does:
Sign in to your IDrive account.
Parameters:
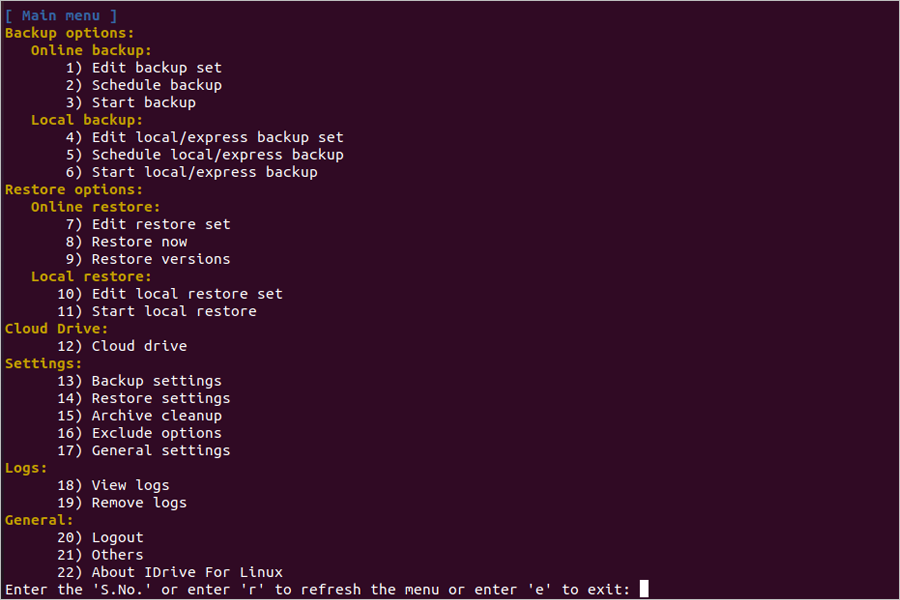
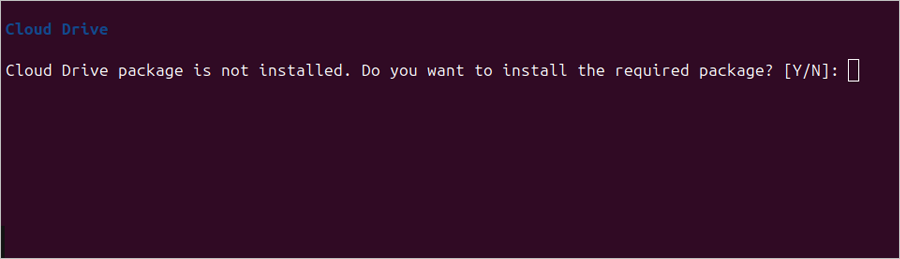
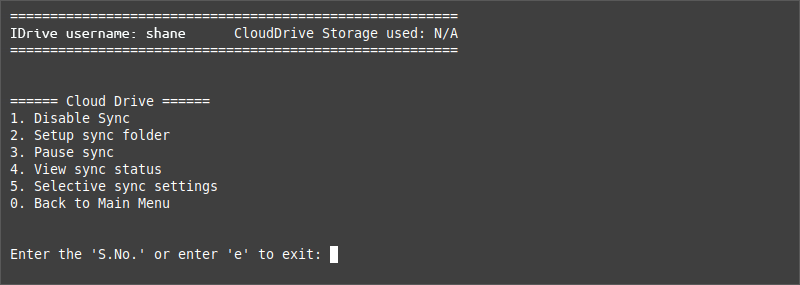
Once you have logged in, select Cloud drive from the main menu to install and explore Cloud Drive options.
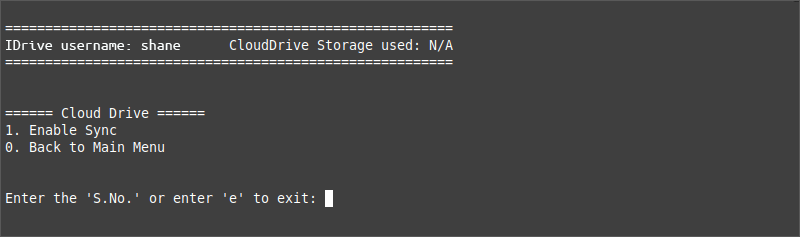
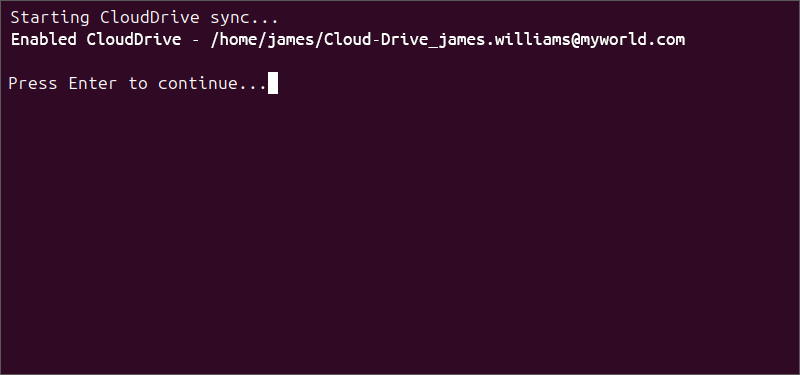
After logging in and accessing the Cloud Drive menu, select Enable Sync to enable Cloud Drive sync.
When Cloud Drive is enabled, open the Cloud Drive menu and select Disable Sync to disable it.
To check the current sync status, open the Cloud Drive menu and select View sync status.
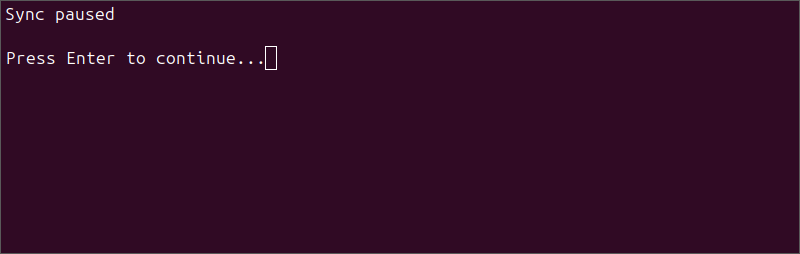
To temporarily stop syncing, open the Cloud Drive menu and select Pause sync.
Sync remains paused until resumed.
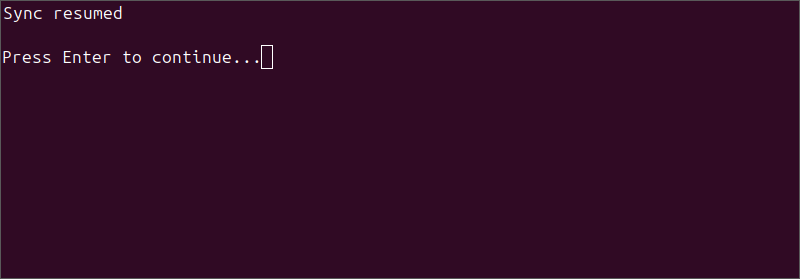
To resume syncing, open the Cloud Drive menu and select Resume sync.
Sync resumes and keeps files up to date.
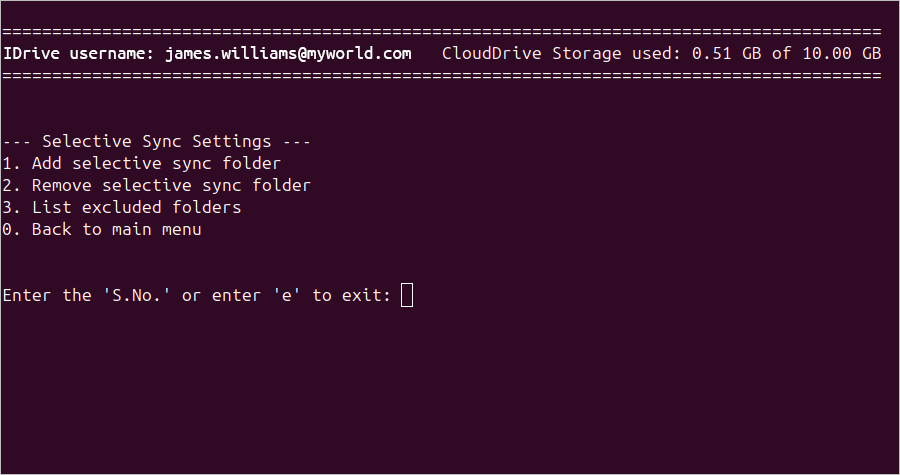
Selective Sync allows you to choose specific folders to sync with your system. This helps save disk space by syncing only required files.
Open the Cloud Drive menu and navigate to:
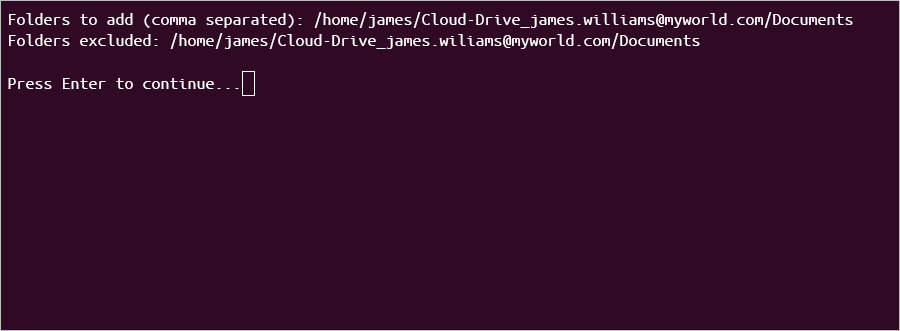
Selective sync settings, > Add selective sync folder
Excluded folders remain on the local system and are not synced to the cloud.
Multiple folders can be excluded using a comma-separated list.
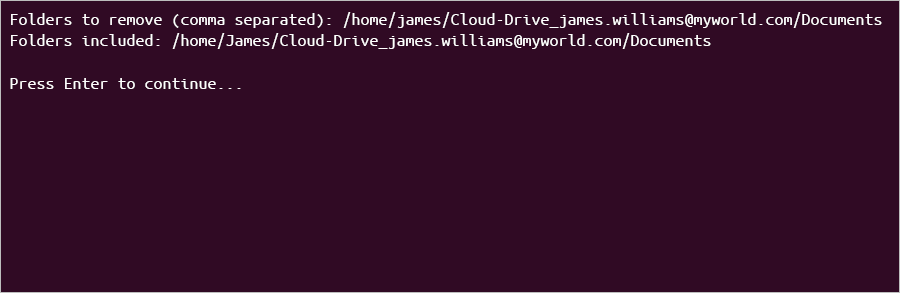
Selective sync settings > Remove selective sync folder
This adds the folders back to syncing.
Multiple folders can be included using a comma-separated list.
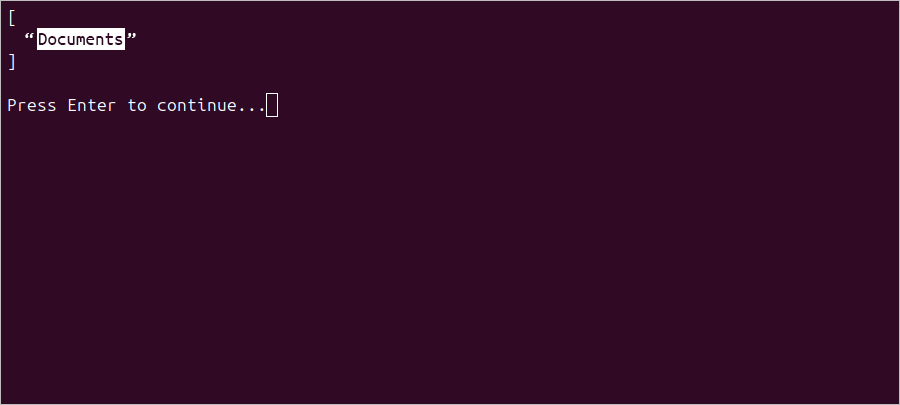
Selective sync settings > List excluded folders
Displays all excluded folders.
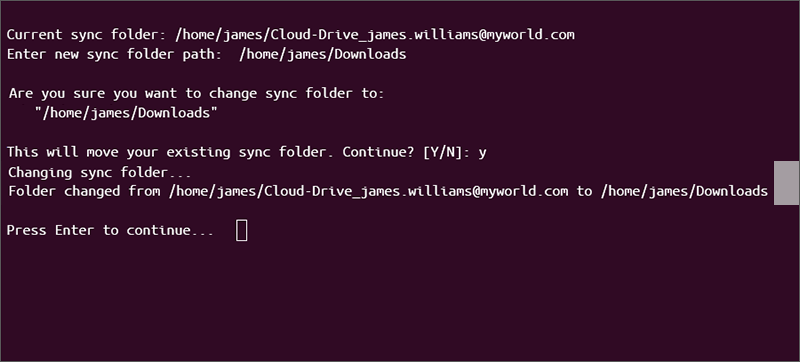
Open the Cloud Drive menu and select Setup sync folder.
This updates the sync location to the specified path.
Go to Settings and Logs Operations >