Deploy IDrive® 360 via JumpCloud
Use JumpCloud to remotely deploy the IDrive® 360 application to multiple Mac devices or groups.
Prerequisites:
- Sign in to your IDrive® 360 account and download the mass deployment package.
- Alternatively, click the 'Copy Link' button to copy the direct installation URL.
Log in to the JumpCloud Admin Portal
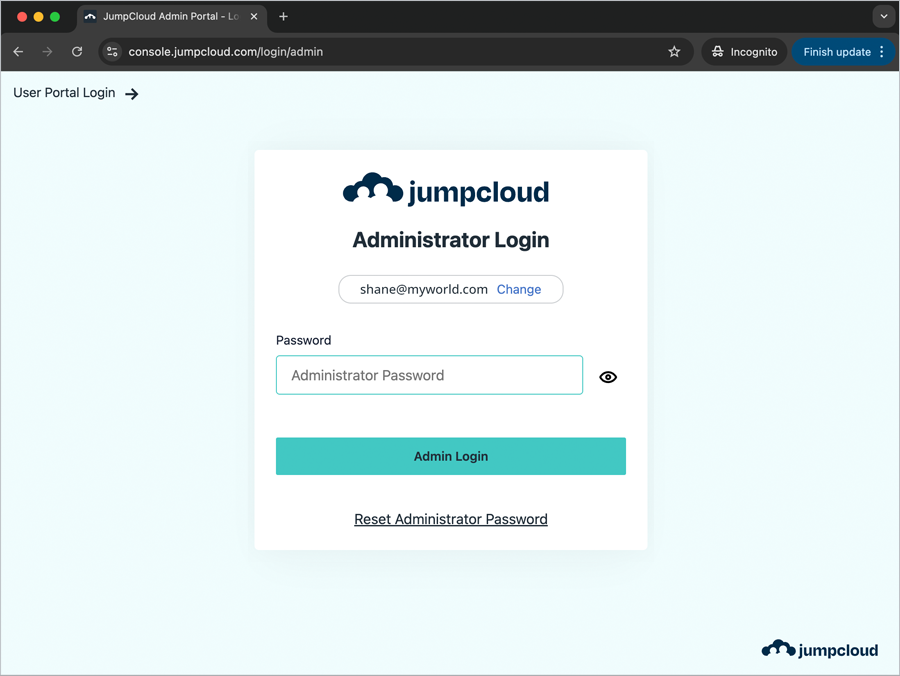
- Navigate to the JumpCloud Admin Portal. Enter your Email and click 'Continue'.
- Enter your Password and click 'Admin Login'.
Enable Full Disk Access and Allow in the Background Using JumpCloud Policy
- Navigate to 'DEVICE MANAGEMENT' > 'Policy Management'.
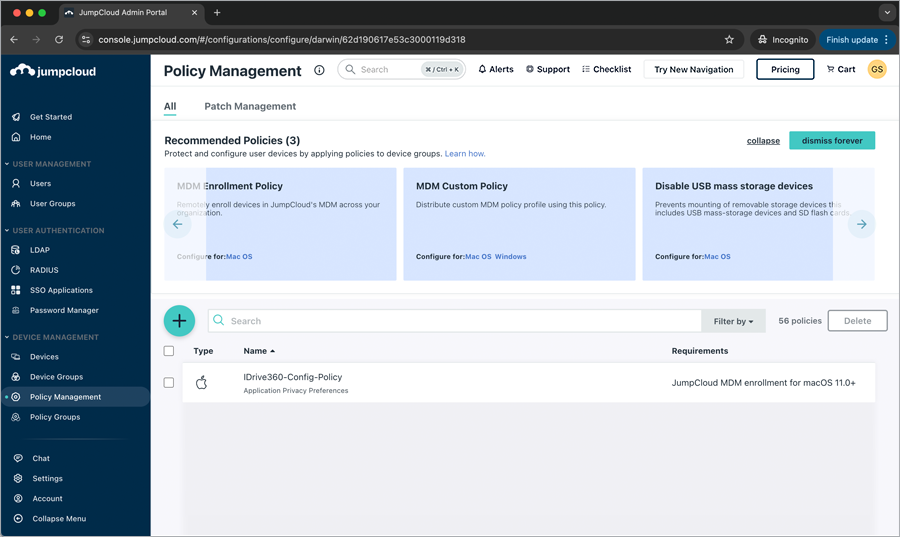
- Click the
 . The 'New Policy' popup appears. Click the 'Mac' tab.
 - Scroll down or type in to locate 'MDM Custom Configuration Profile' and click 'configure'.
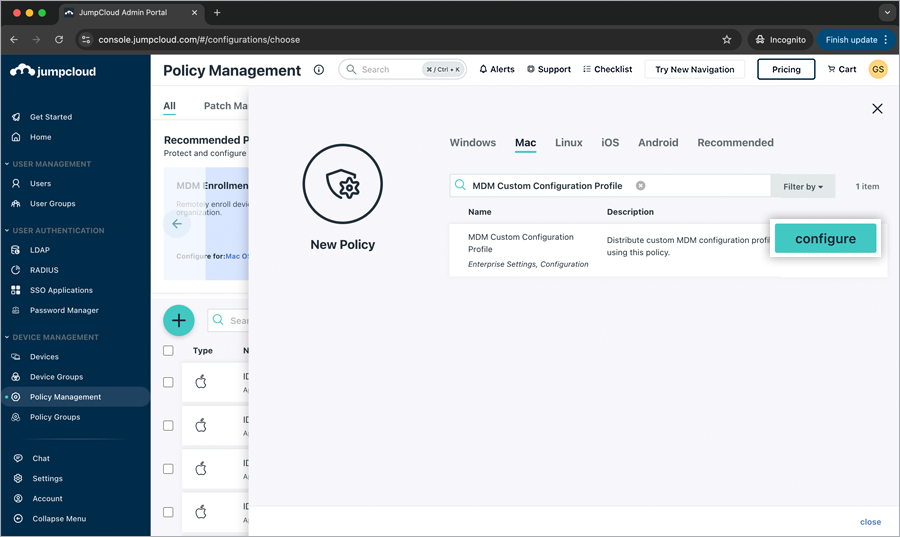
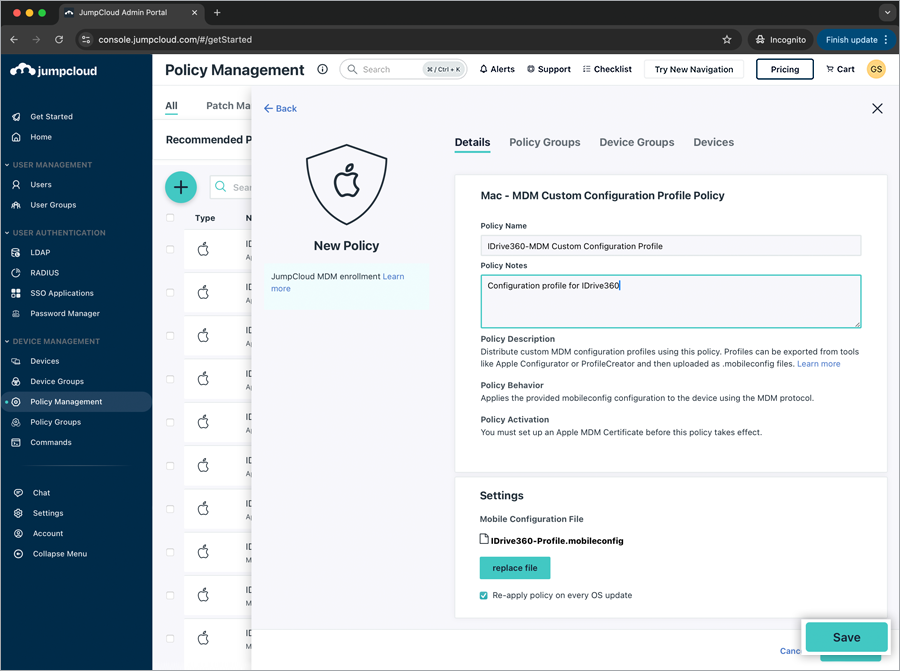
- In the 'New Policy' popup, under the 'Details' tab, enter the following.
- Policy Name (e.g., IDrive360-MDM Custom Configuration Profile)
- Policy Notes (e.g., Configuration policy for IDrive360)
- Under the 'Settings' section, click 'upload file'.
- Choose the IDrive360-Profile.mobileconfig file and click 'Upload'.
- The configuration file has been successfully uploaded.
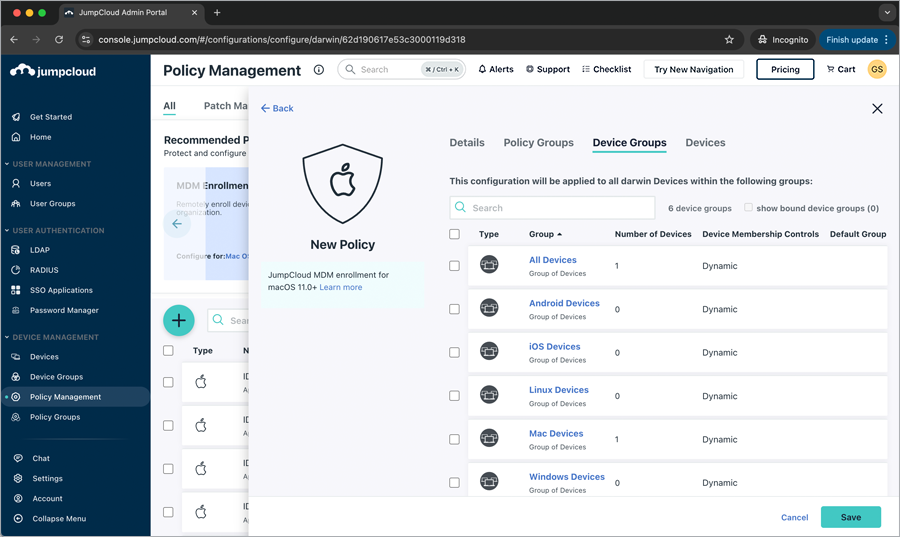
- To apply the configuration policy to all devices within the available groups, click the 'Device Groups' tab and select the corresponding Device Group checkboxes. Alternatively, to apply the configuration policy to selected devices, click the 'Device' tab and select the corresponding Device checkboxes.
 You can apply the policy to any existing policy groups by clicking the 'Policy Groups' tab and selecting the corresponding Policy Group Checkboxes.
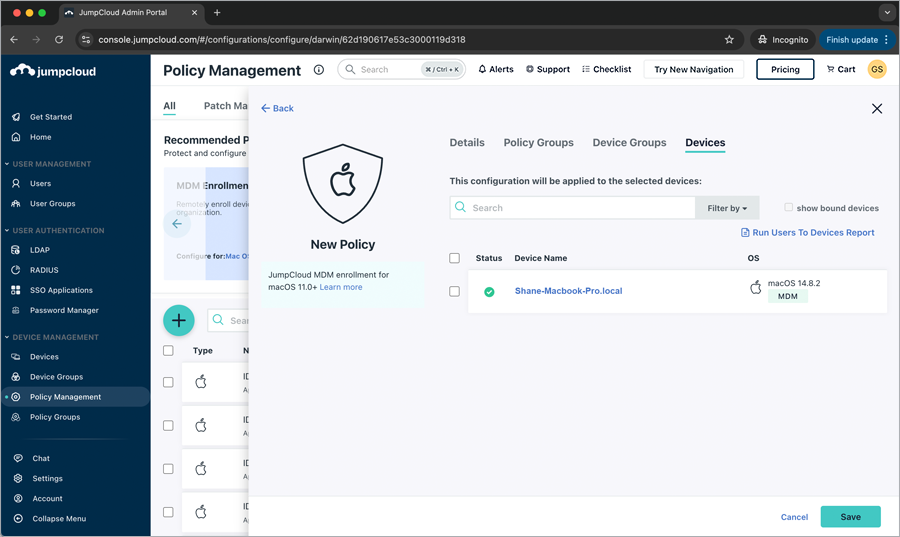
Click 'Save'.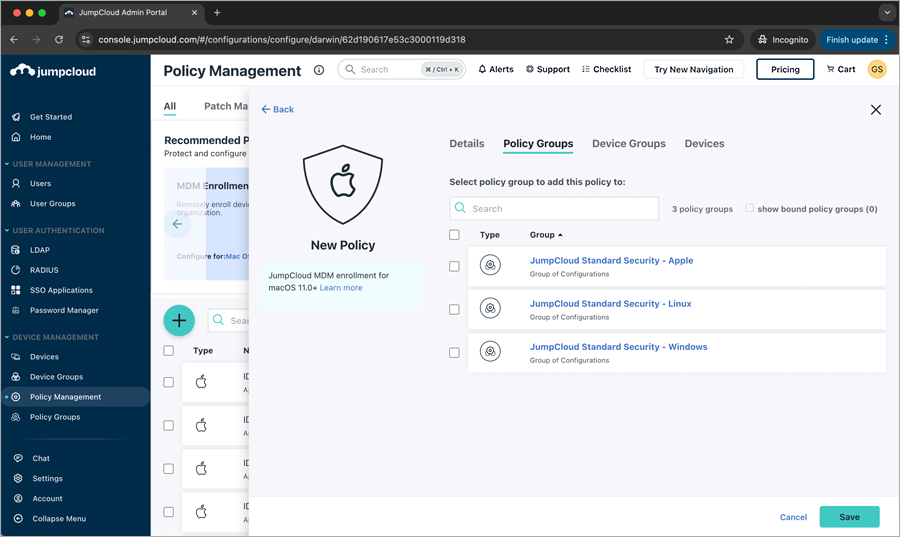
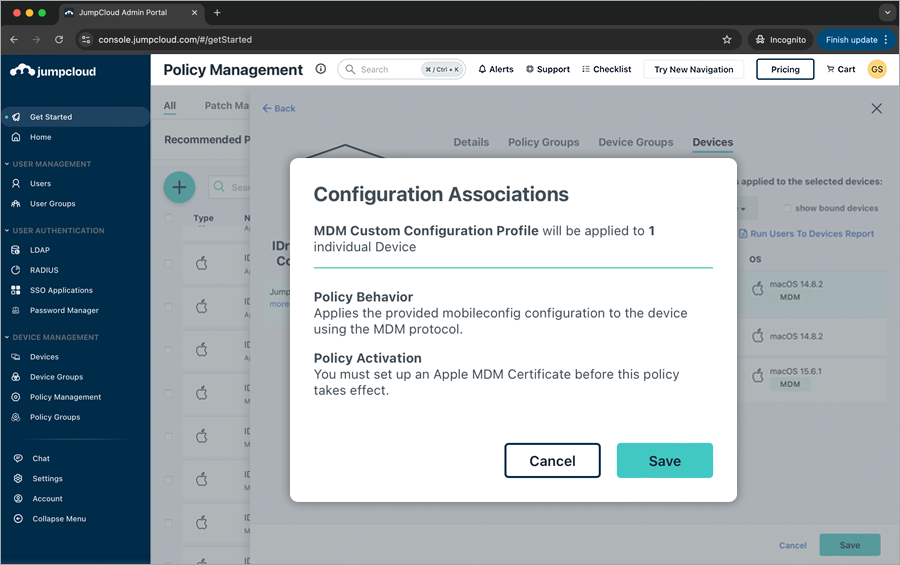
- In the 'Configuration Associations' popup, click 'Save'. The new configuration policy has been saved successfully.
Register Computers Using Custom Parameters
- Click here to download the sample package installer script.
- Use the parameters below to edit the script file, update the required parameters, and save the script.
Key DescriptionGROUP_NAME Specify the name of the group to which this computer will be assignedENCRYPTION_KEY Registers the machine with a private encryption keyCONFIGURATION_ID This is the unique configuration ID that can be copied from the 'Add Computers' section in the Backup ConsoleTRAY_HIDDEN 1 - Enabling this option will prevent users from accessing the tray options on their computers
0 - Unhide the tray and allow users to access tray optionsDEVICE_TAG If your installation uses device tags, provide the corresponding tag name. This will ensure it appears under the 'Email Address/Tag Name' column in the IDrive® 360 dashboard
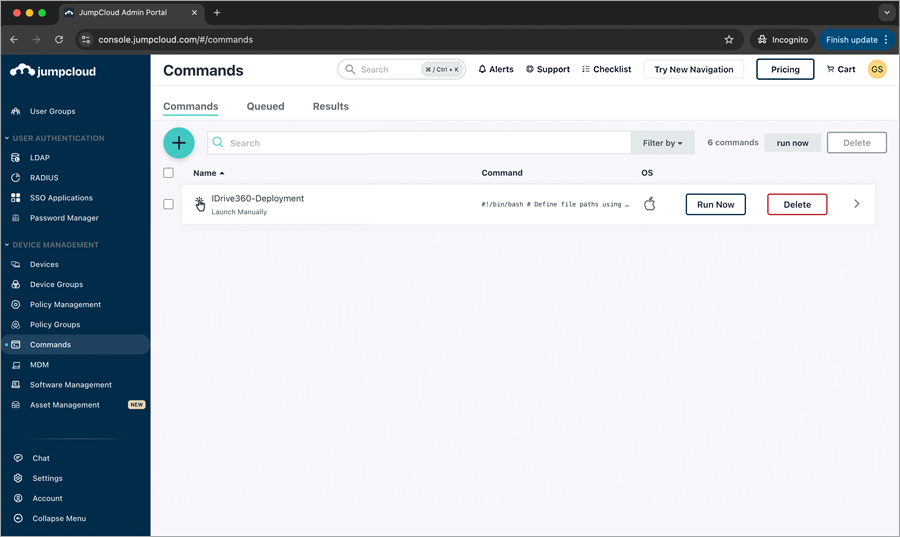
Deploy IDrive® 360 via JumpCloud
- Navigate to 'DEVICE MANAGEMENT' > 'Commands'.
- Click the > 'Command'.
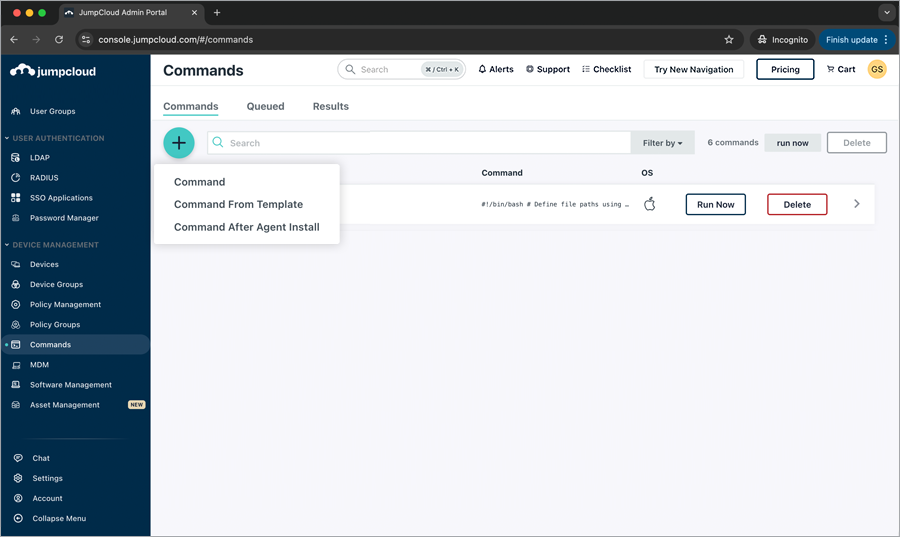
- The 'New Command' popup appears. Click the 'Details' tab. Enter the following under Details.
- Enter the Name (e.g., IDrive360-Config-Script).
- Click the 'Run As' dropdown and select 'root'.
- Enter a 'Description' (e.g., Script for IDrive 360 installation)
- Select 'Mac' under 'Type'.
- Enter the following command.
 #!/bin/bash

# Define file paths using the JumpCloud file destination
PREINSTALL_SCRIPT=""
INSTALL_PKG=""

# --- Run Pre-installation Script ---
echo "Running pre-installation script..."
/bin/bash "$PREINSTALL_SCRIPT"
if [ $? -ne 0 ]; then
    echo "Pre-installation script failed. Exiting."
    exit 1
fi

# --- Install the Package ---
echo "Installing the package..."
installer -pkg "$INSTALL_PKG" -target /
if [ $? -ne 0 ]; then
    echo "Package installation failed."
    exit 1
fi

# --- (Optional) Clean up the files from the /tmp directory ---
rm "$PREINSTALL_SCRIPT" "$INSTALL_PKG"
echo "Installation complete."
- Schedule the launch event frequency as needed by selecting the event from the 'Event' dropdown. You can set the timeout duration to your preference or use a custom value.
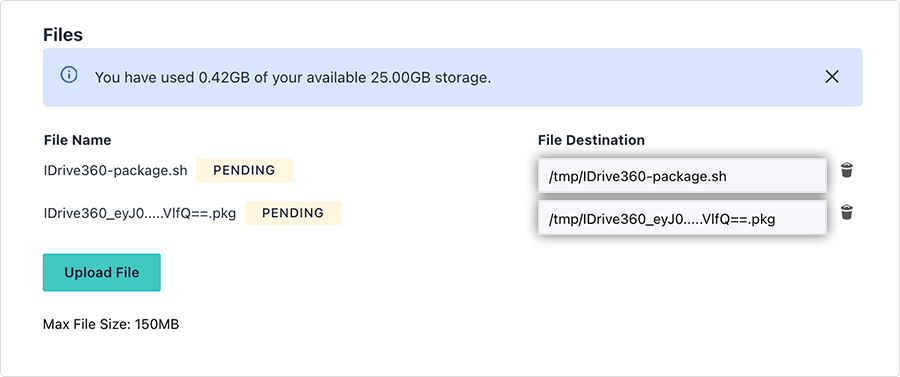
- Click 'Upload File' to select the download package and the downloaded and edited script.
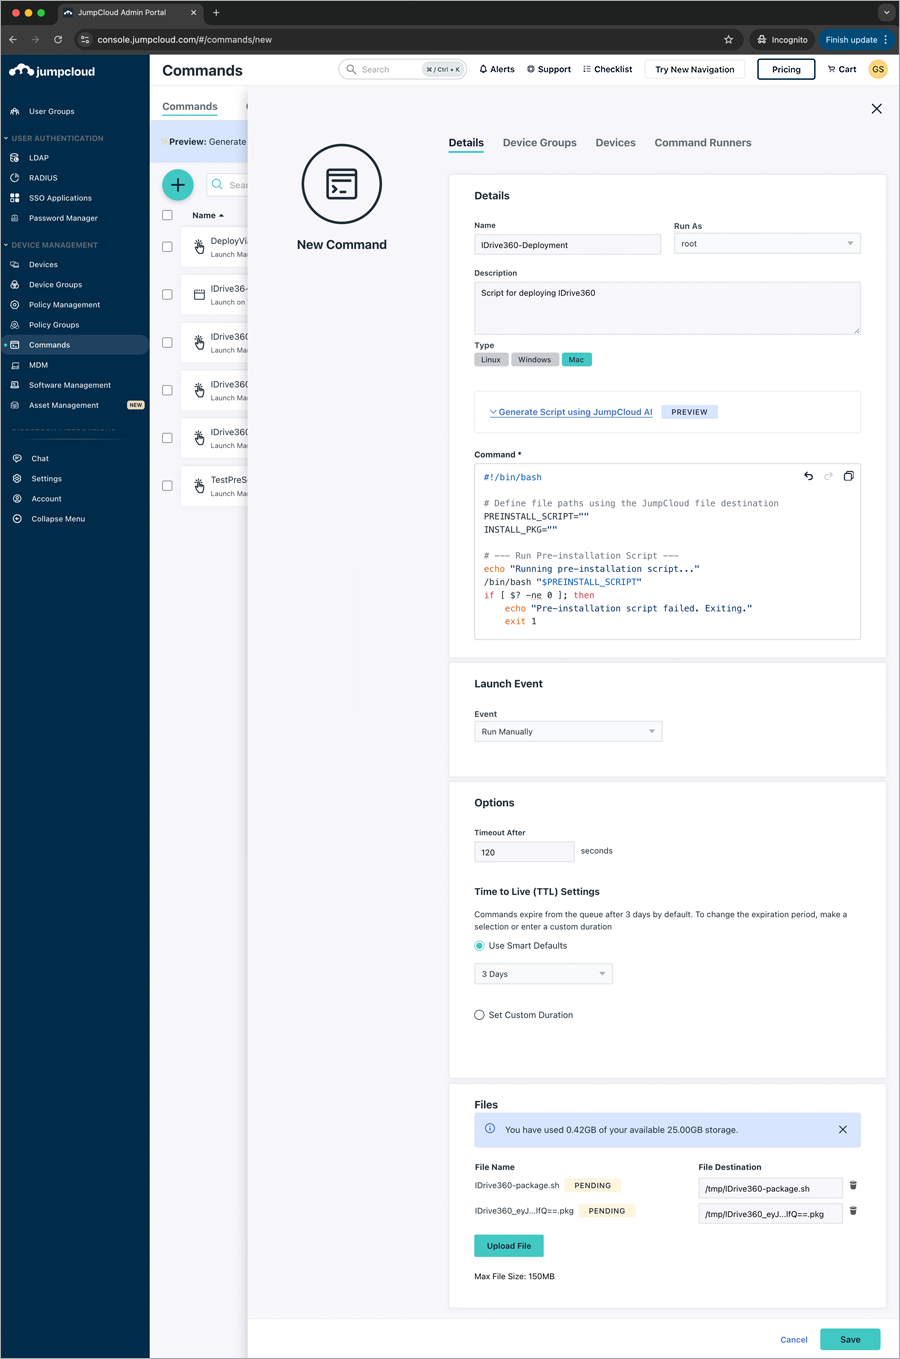
- Update the PREINSTALL_SCRIPT and INSTALL_PKG variables in the Command with the 'File Destination' paths of the script and the package, respectively.
- To apply the command to all devices within the available groups, click the 'Device Groups' tab and select the corresponding Device Group checkboxes.
Alternatively, to apply the command to selected devices, click the 'Device' tab and select the corresponding Device checkboxes. Click 'Save'.
The machine will be registered and listed in the dashboard under 'Devices' > 'Computers'.