Integrate Hitachi Content Platform with IDrive® e2
Hitachi Content Platform (HCP) is an intelligent object storage system designed to manage unstructured data, featuring capabilities such as deduplication, compression, security, and hybrid cloud integration. It supports archiving, compliance, backup, and cloud-native applications while ensuring scalability and resilience. Integrating HCP with IDrive® e2 extends these capabilities with a capable and scalable cloud object storage solution that facilitates systematic integration for efficient data management.
Prerequisites
Before you begin, ensure the following:
- An active IDrive® e2 account. Sign up here if you do not have one.
- A bucket in IDrive® e2. See how to create a bucket.
- Valid Access Key ID and Secret Access Key. Learn how to create an access key.
- HCP cluster version 8 and above installed and working.
- Admin login credentials for the HCP system management console.
- Tenant created with administrator login for the tenant.
The following steps can help you successfully integrate Hitachi Content Platform (HCP) with IDrive® e2 cloud object storage.
Configure Hitachi Content Platform with IDrive® e2
- Log in to the HCP Management Console.
- Click Storage in the header menu.
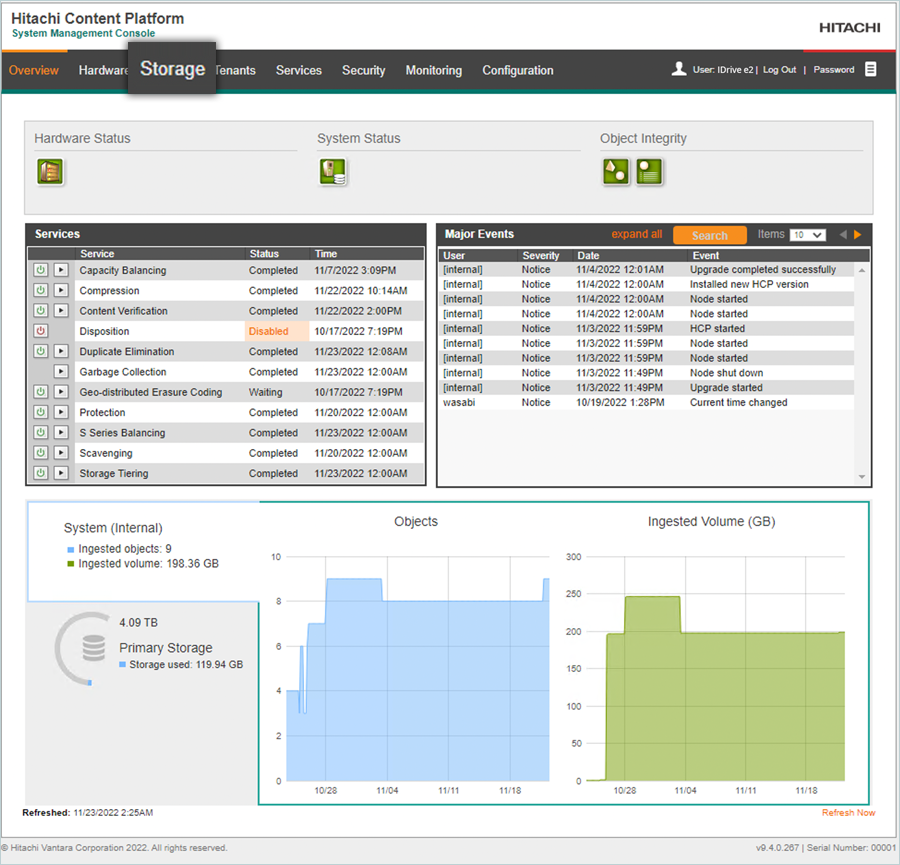
- Select Components on the Storage tab and click Add Component to add a new component.

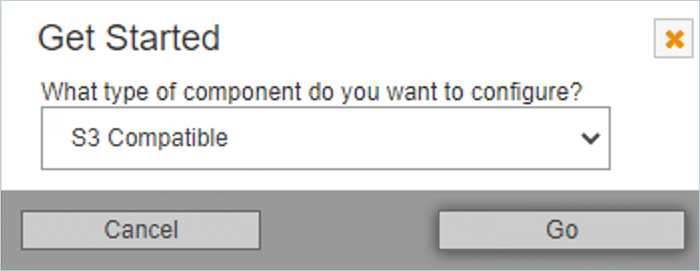
- Select S3 Compatible in the Get Started dialogue box and click Go.
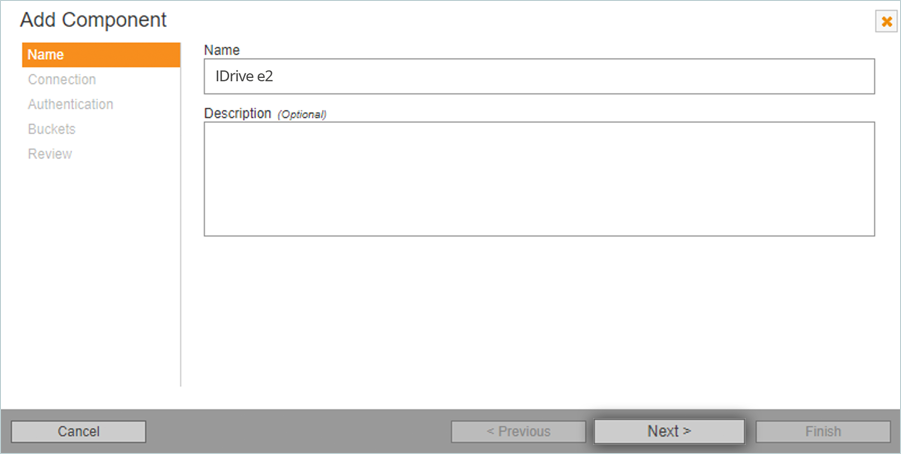
- Enter a Name for the Storage Component and click Next.
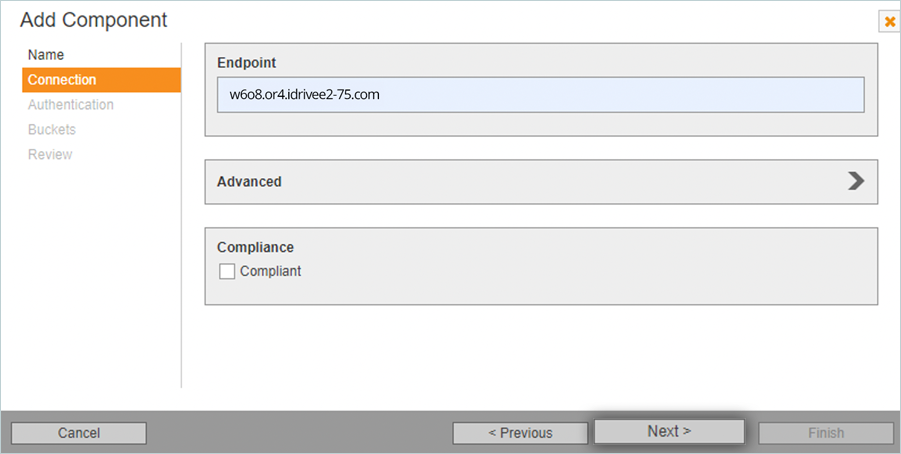
- Enter your IDrive® e2 S3 endpoint as End-point URL and click Next.
- Enter your IDrive® e2 credentials as mentioned below.
- Enter Account Label (HCP uses the account label to represent the user account with the specified credentials.).
- Select AWS Authentication as the Authentication Type.
- Enter your IDrive® e2 Access Key as Access Key.
- Enter your IDrive® e2 Secret Access Key as Secret Key.
- Click Next.

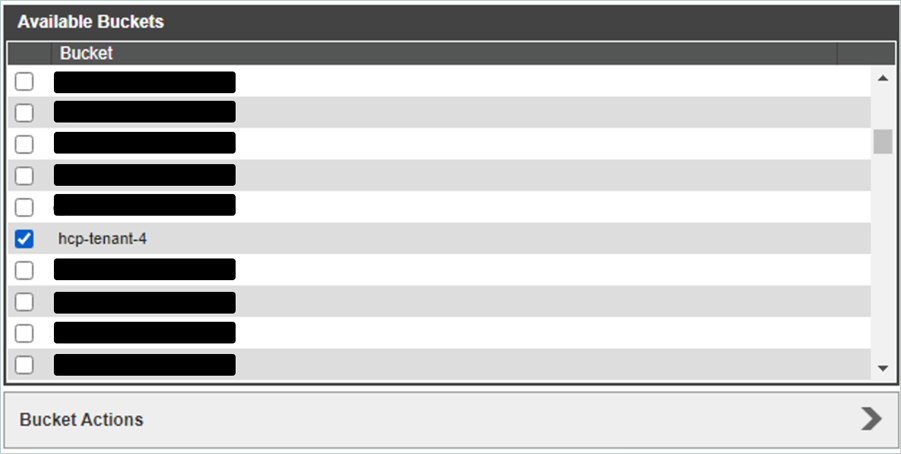
- Select your IDrive® e2 bucket from the list of storage components and click Next.
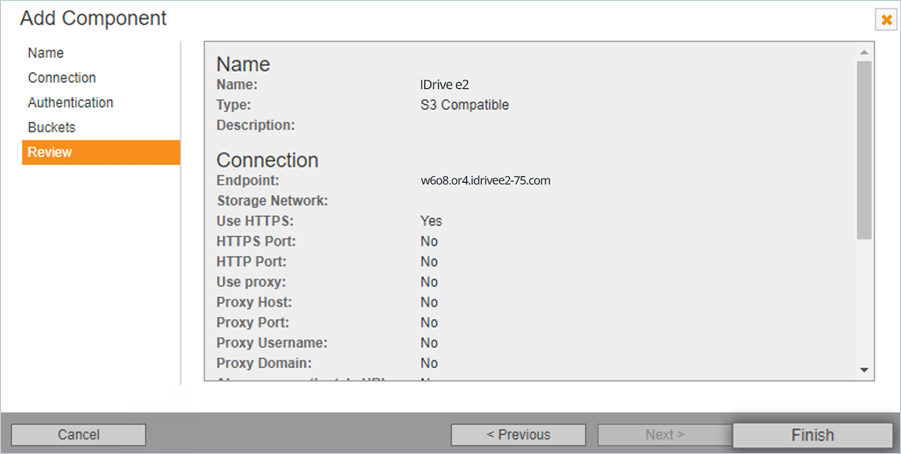
- Review the configuration and click Finish to create the storage component.
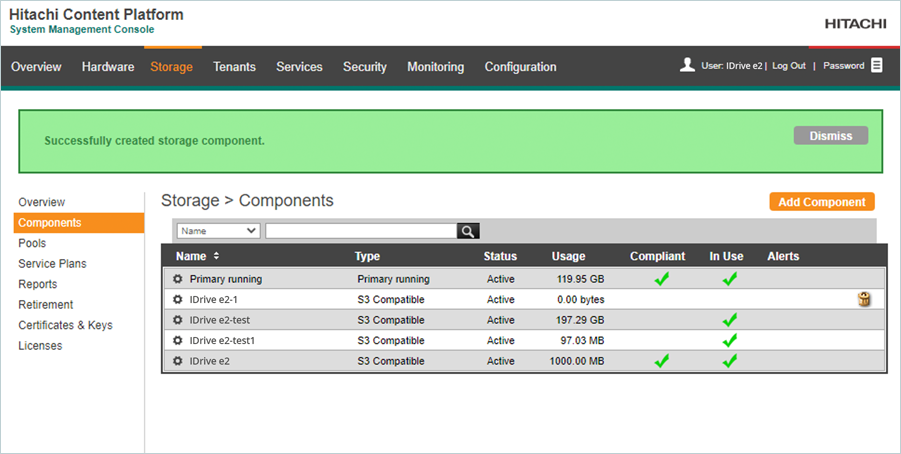
- Your e2 storage is now successfully added and listed in the Storage components page
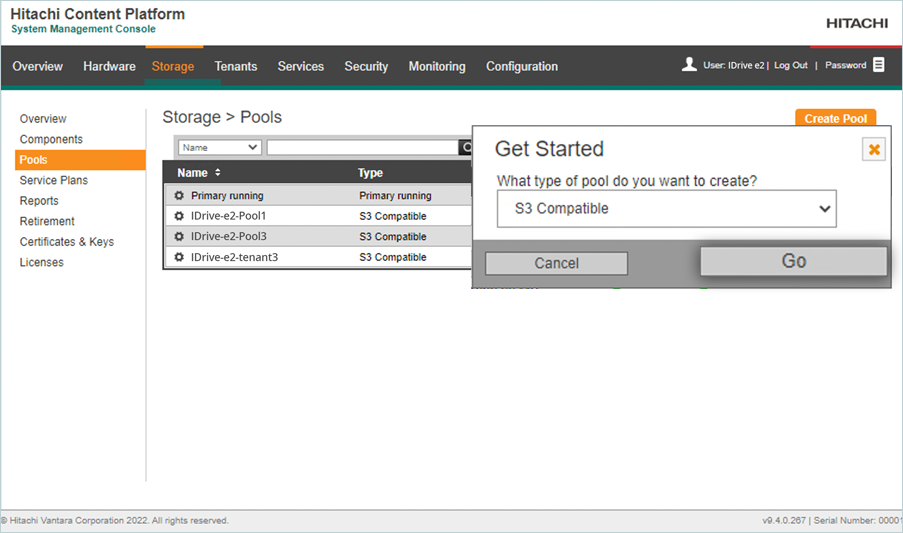
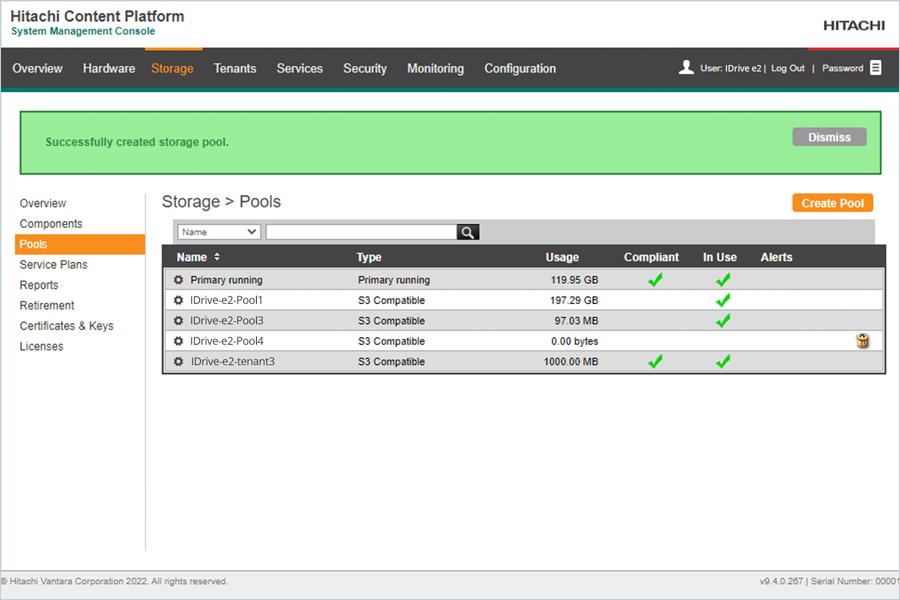
Create an Extended Storage Pool
- Click Storage in the header menu.
- Select Pools in the Storage tab and click Create Pool.
- Select S3 Compatible in the Get Started dialog box and click Go.
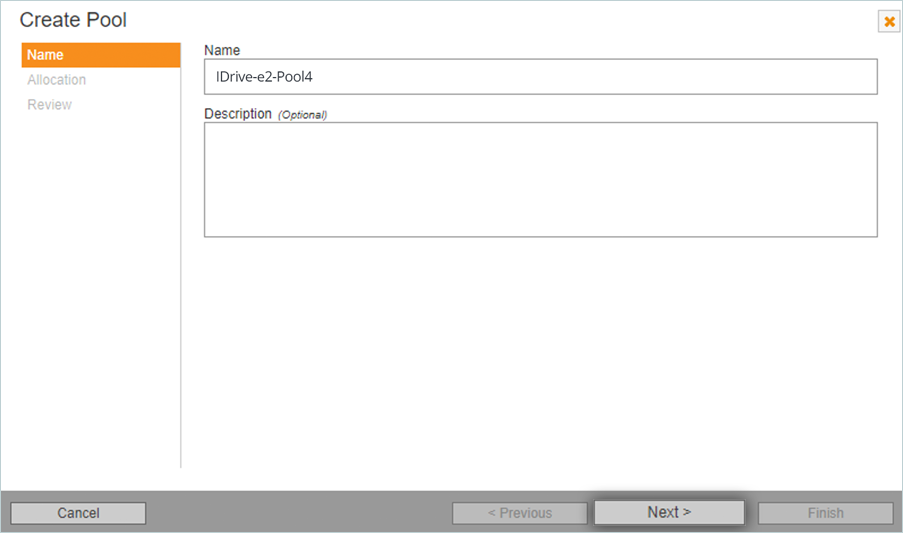
- Enter a Name for the storage pool and click Next.
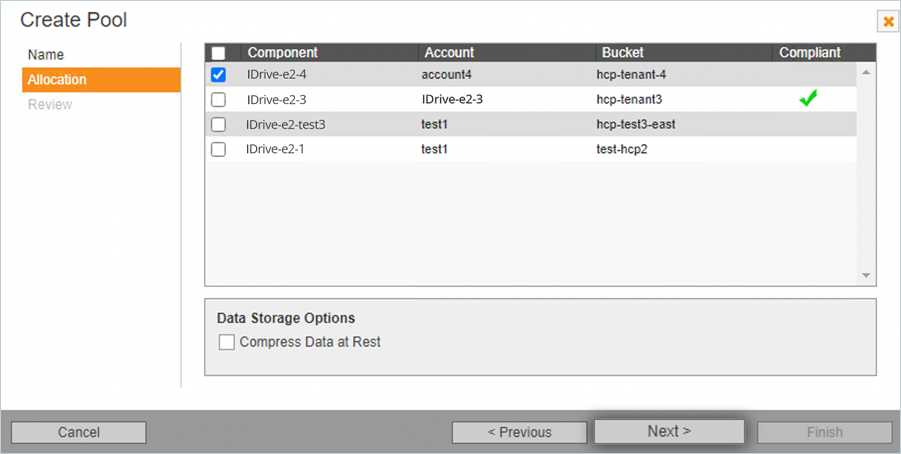
- Select the storage component created in the previous step and click Next.
- Review the pool configuration and click Finish.
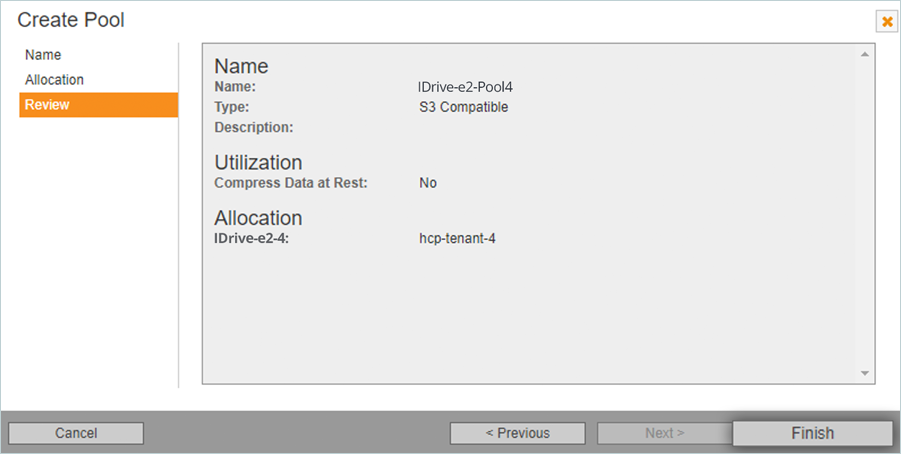
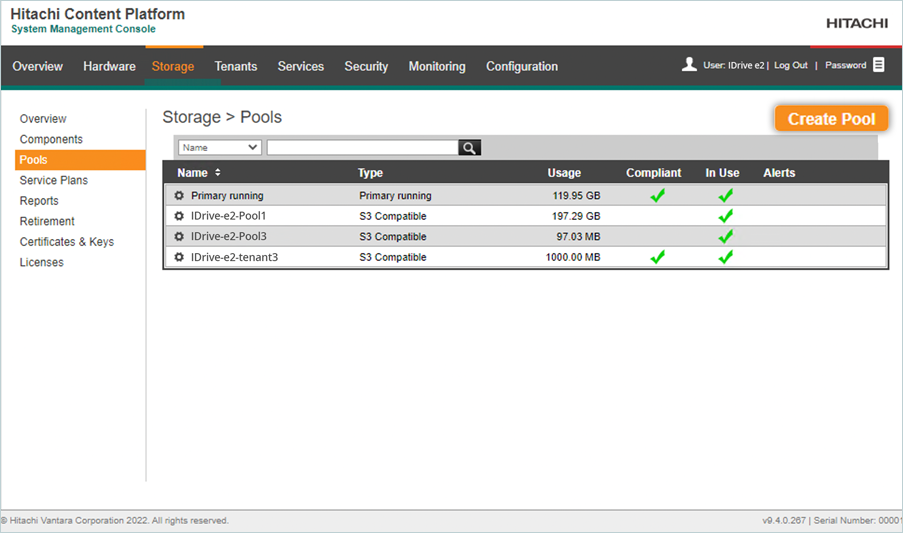
- The storage pool should be listed under the Pools tab.
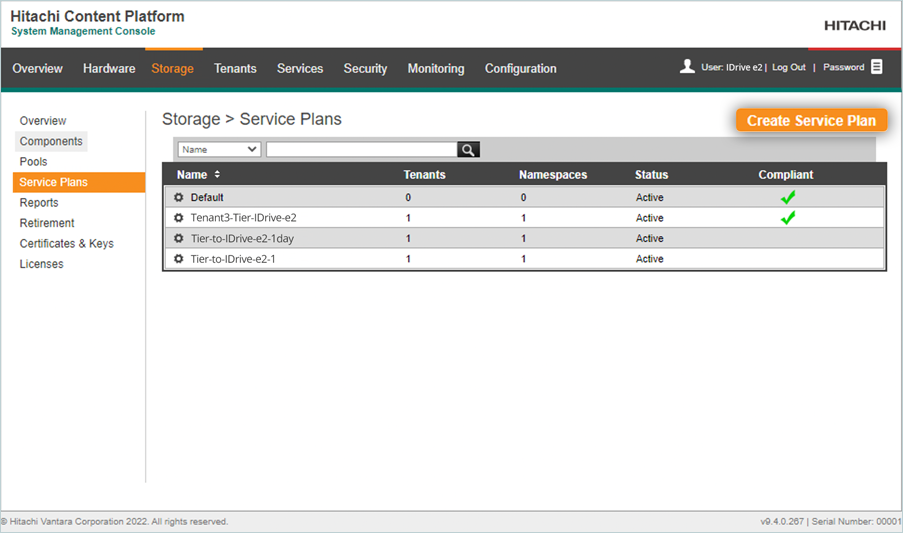
Create a Service Plan
- Click Storage in the header menu.
- Select Service Plans under the Storage tab and click Create Service Plan.
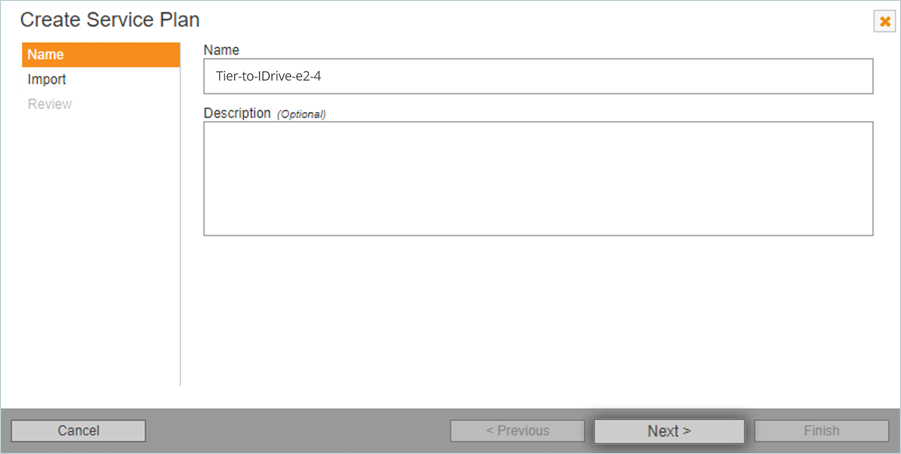
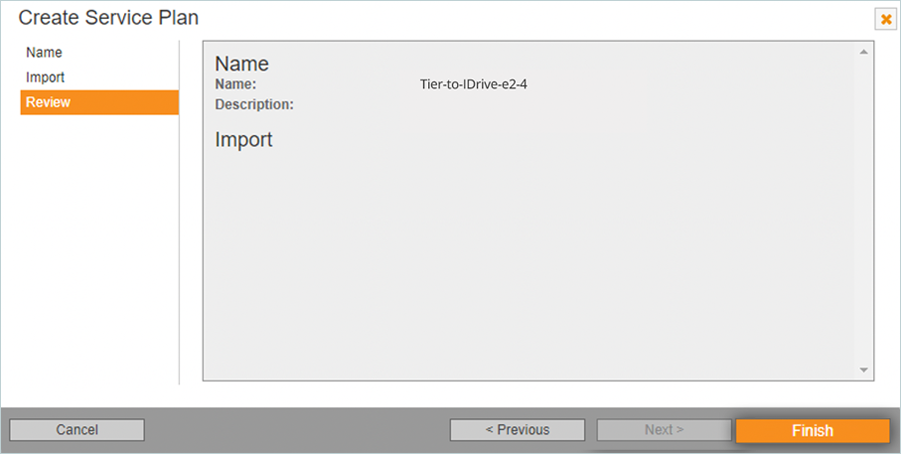
- Enter a name for the Service Plan.
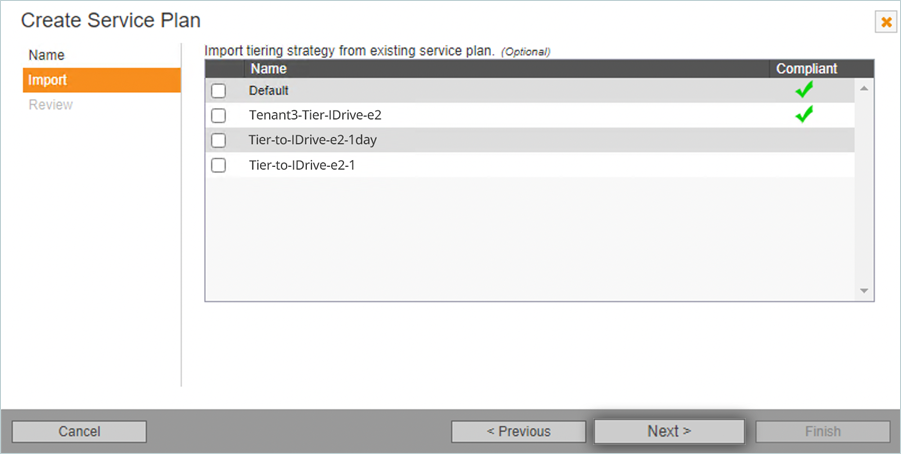
- Optionally, import the tiering strategy from an existing service plan and click Next.
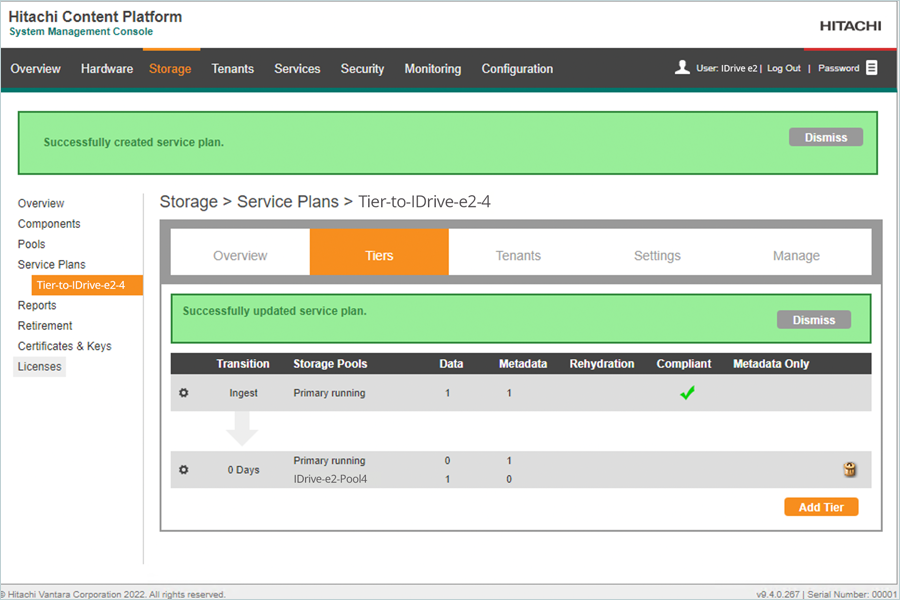
- Review the information and click Finish to create the service plan.
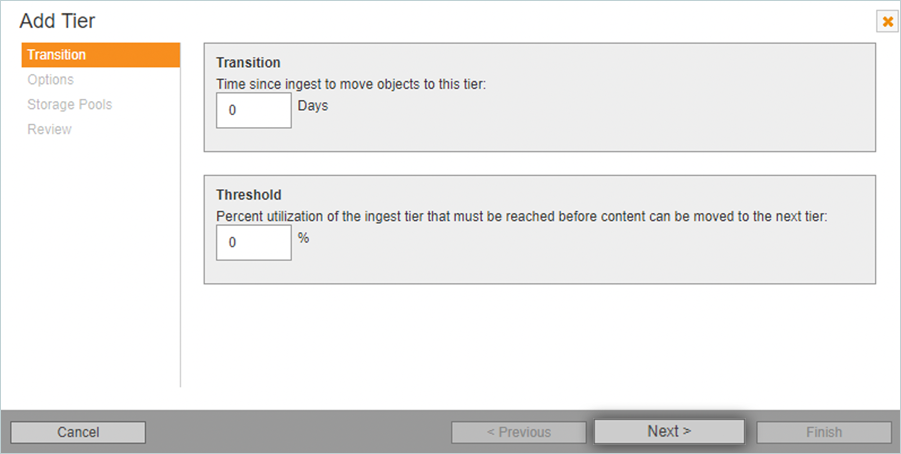
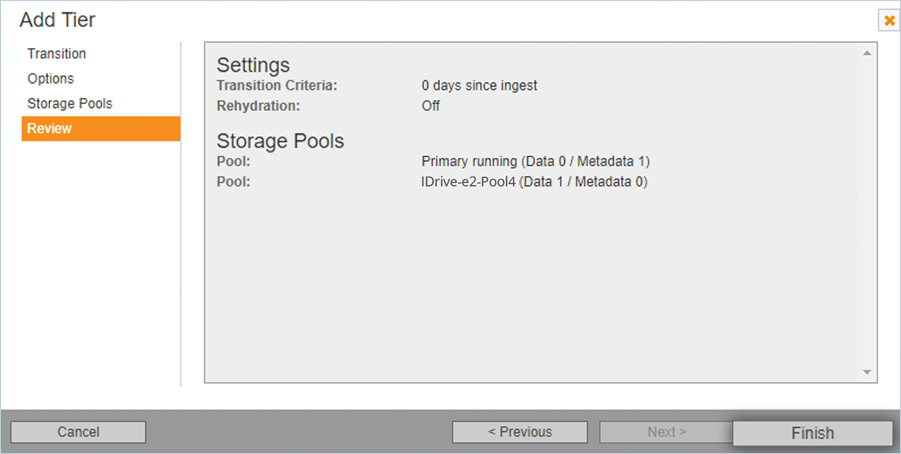
- On the Service plan page, click Add Tier to add a tier to the service plan.

- Enter the number of days or the percent utilization threshold and click Next.
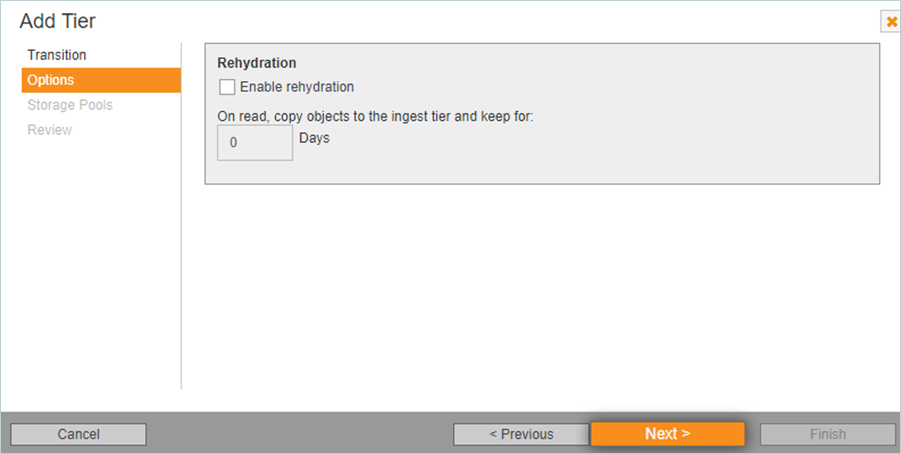
- Optionally enable Rehydration and click Next.
- In the Storage Pools tab, check the name of the storage pool to be used for tiering data, and click Next.
(From the data column, select 1 copy to be tiered to IDrive® e2. Select the number of metadata copies to keep on primary storage and check the I understand checkbox.)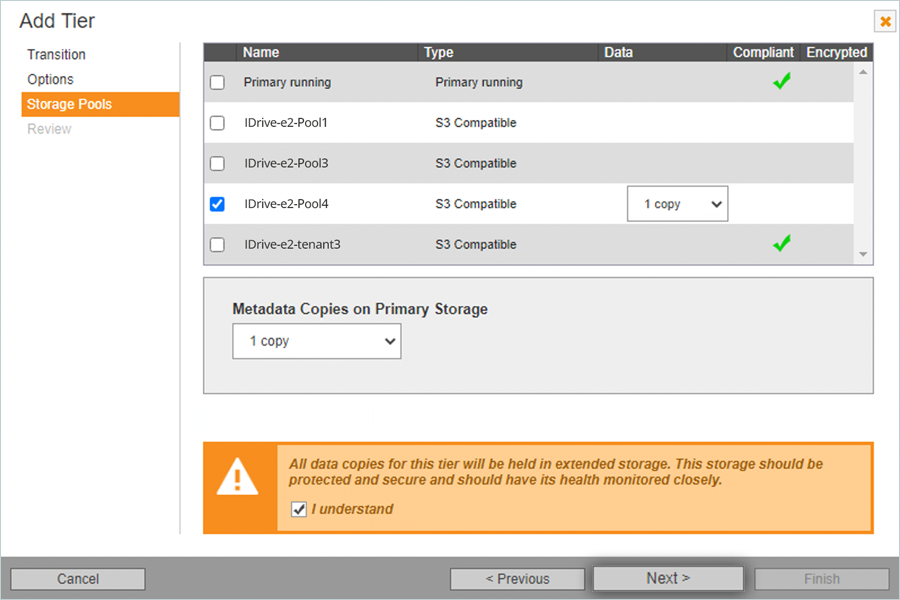
- Review the tiering configuration and click Finish to complete the tiering wizard.
- The new service plan with tiers will be displayed on the Service Plans page.
Note: Data restoration is handled by your specific backup solution provider and is affected by multiple variables that are unique to your environment. For application-related enquiries/support, it is strongly recommended you seek guidance from the technical team of your backup solution provider.